Quite often we are faced with a situation where CNC milling machine with its full dimensions does not pass through the door, or does not fit in the car and you have to remove the portal to reduce its dimensions. That is why we decided to write detailed instructions on how to install it yourself and set it up for correct and accurate work.
STEP 1. Preparation.
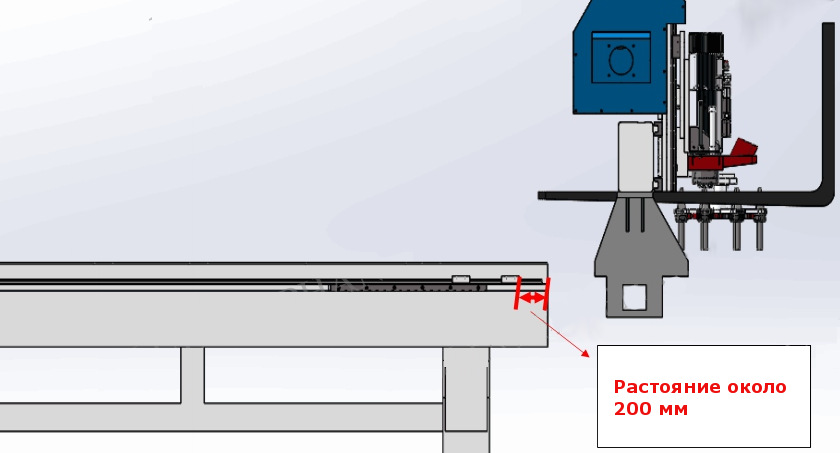
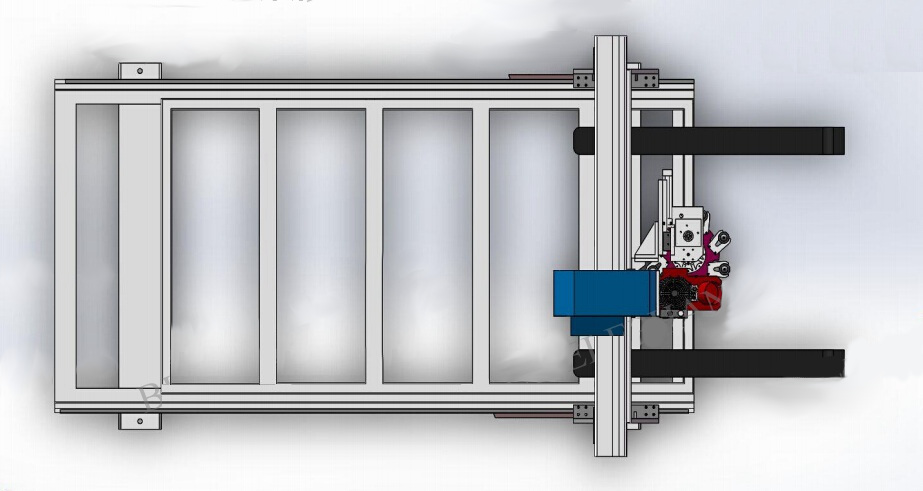
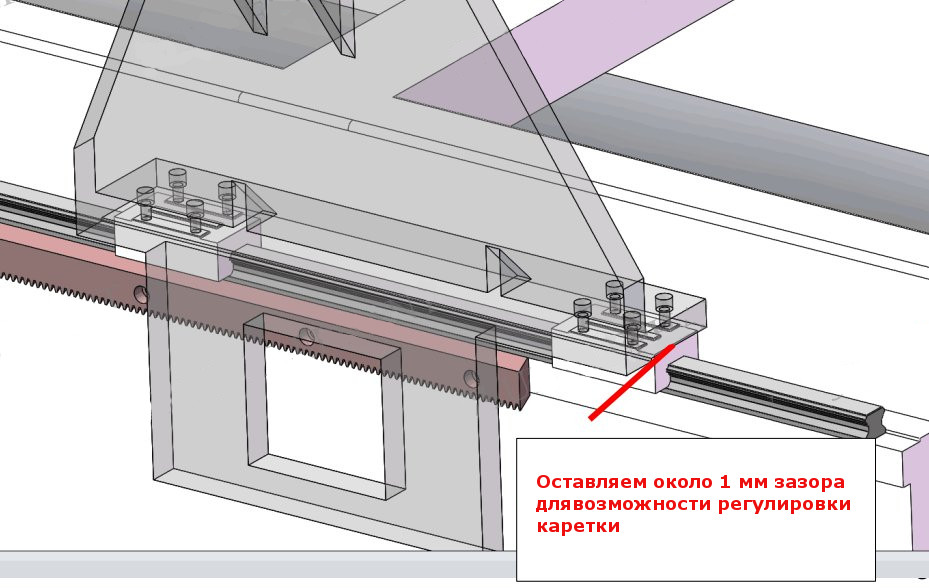
We expose the carriages at a distance of about 20 cm from the edge and begin to install the portal.
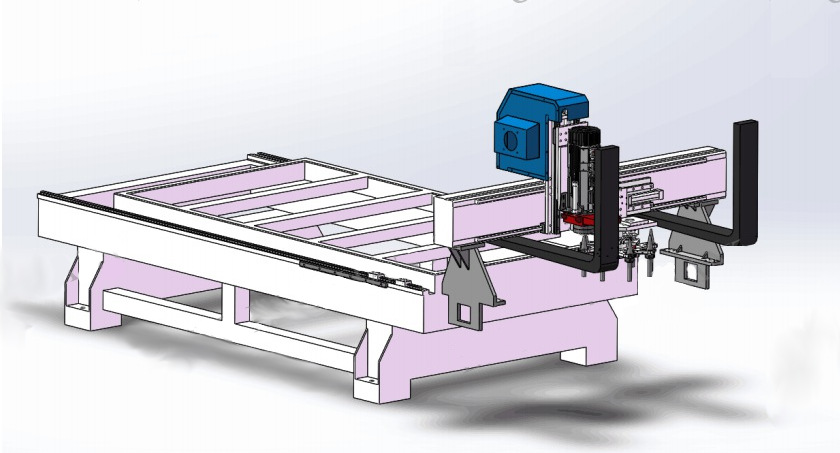
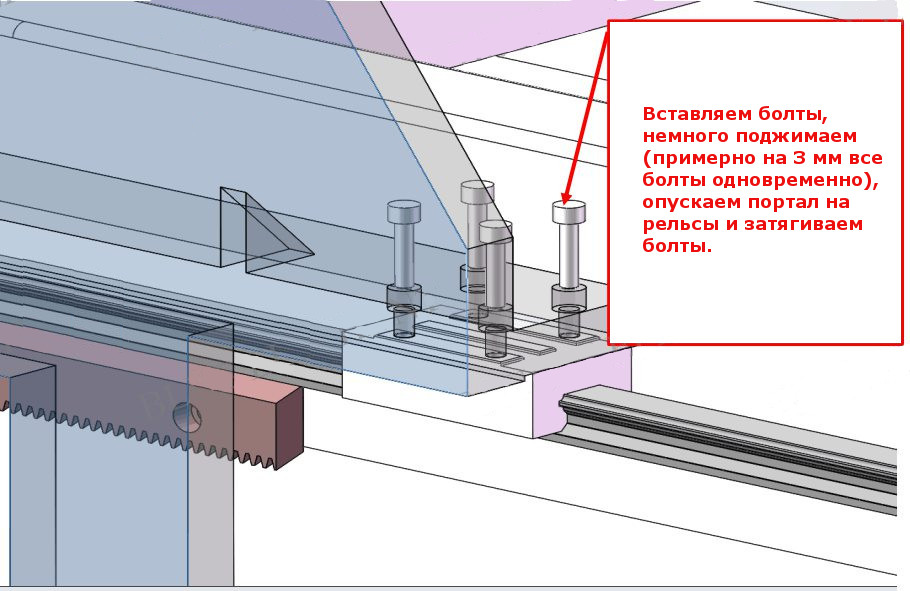
Step 2. Installing the portal.
We expose the carriages so that the holes on the paws and on the carriages coincide as accurately as possible, install the portal and begin to gradually tighten each bolt until we clamp everything completely.

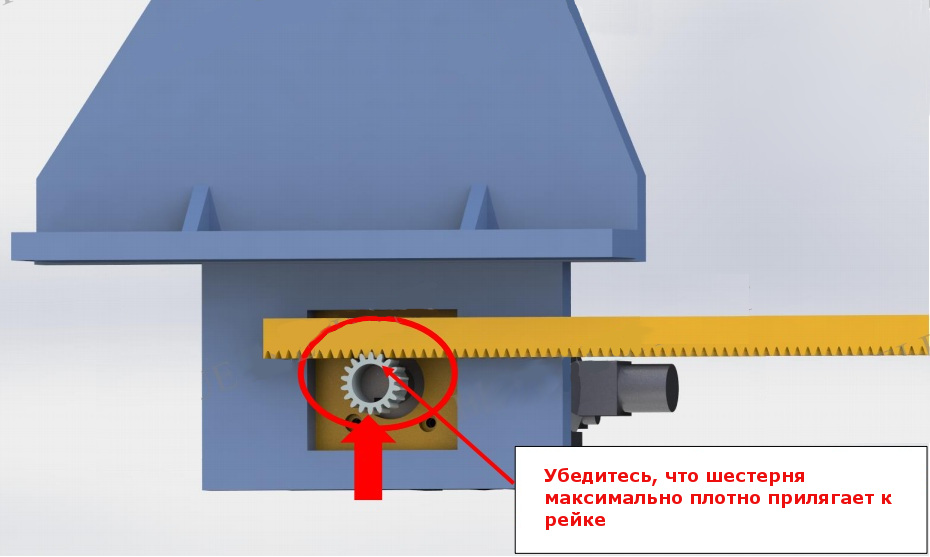
Step 3. Gearbox tension.
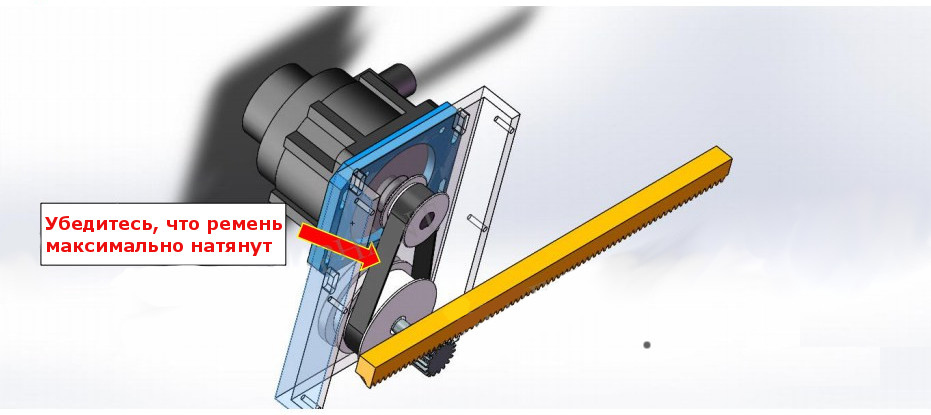
Now you need to securely fasten all the details so that there is no backlash in the gear-rack pair. We start with the gearbox itself: applying force, we press it up so that the gear becomes as tightly as possible into the rail. We do a similar operation to tighten the belt, only now you need to pull up on the engine itself and securely screw it to the gearbox.

Step 4. Check.
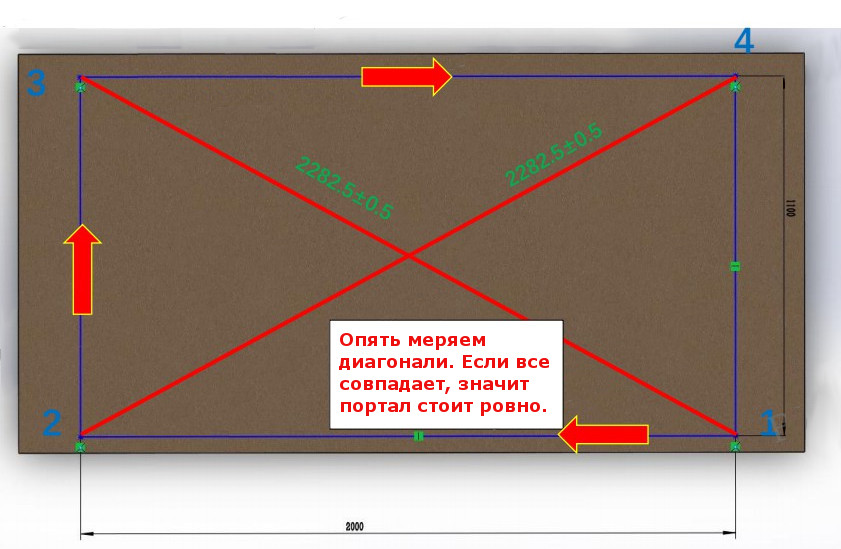
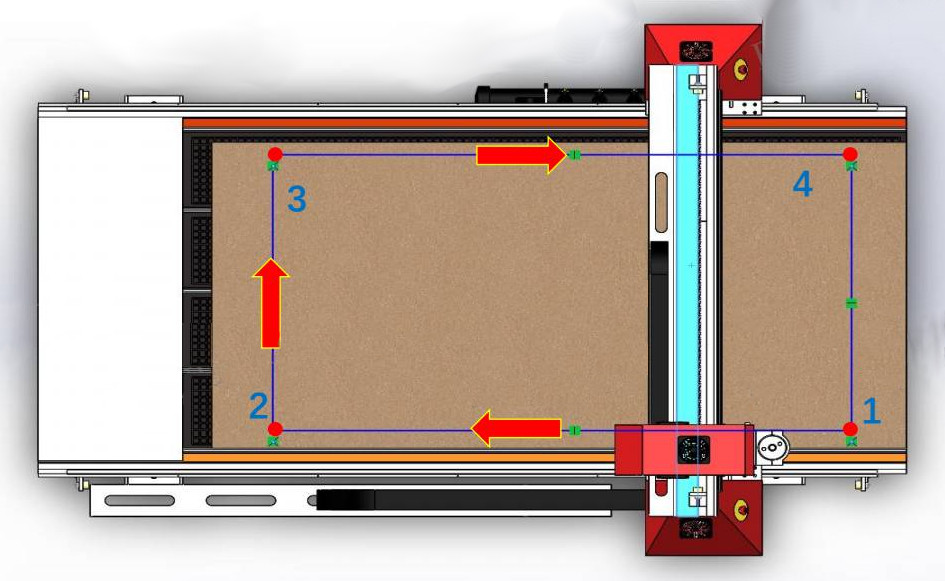
After everything is installed and securely screwed, it's time to check whether our machine has remained accurate and whether we have an exact angle of 90 degrees between the X and Y axes. For measurement accuracy, we take the largest possible sheet of material that will allow us to process the working field of the machine and set 4 dots as shown in the figure below.
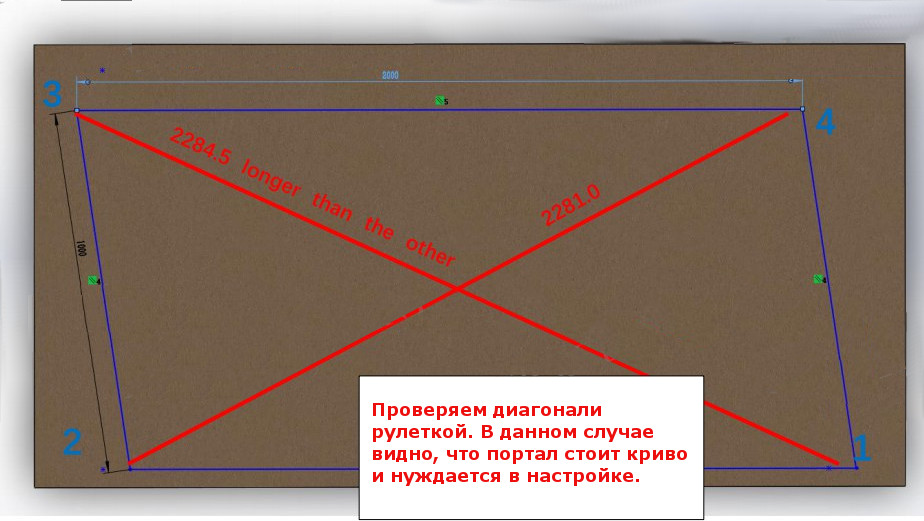
In case the diagonals have different lengths, we need additional adjustment. To do this, we squeeze out the bolts that connect the portal itself with the paws on both sides, and slightly push the portal towards the longer diagonal. At the same time, be sure to turn off the power to the machine, because the force of the engines will not allow the portal to move.

After we tighten the bolts and do the check again. This procedure must be repeated until both diagonals are the same length.